
Follow these steps to install LoadRunner VuGen on a local Windows computer:
Note: This guide shows the installation of LoadRunner (VuGen) 2020. If there are any differences in the installation procedures, please refer to the LoadRunner official website.
1. Go to https://www.microfocus.com/en-us/products/loadrunner-professional/download.
Learn more.
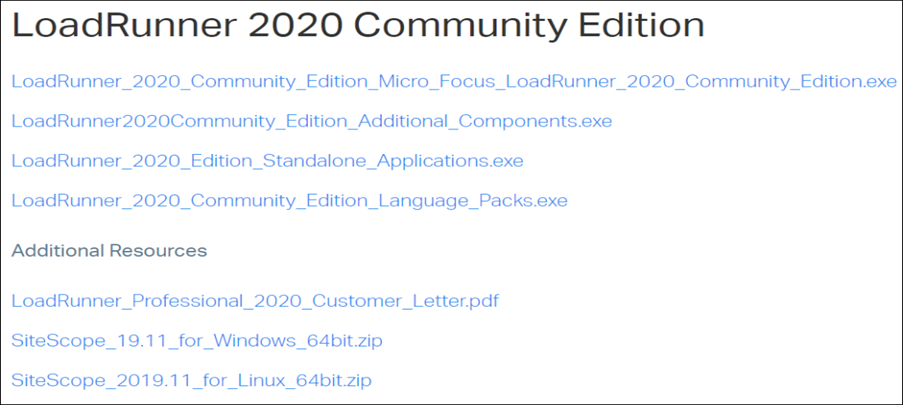
Figure (1)
2. Open ‘LoadRunner_2020_Edition_Standalone_Applications.exe’.
3. You can be redirected to the registration page (Sign up for a free trial). Click the “Start Free Trial” button after entering all the necessary information.
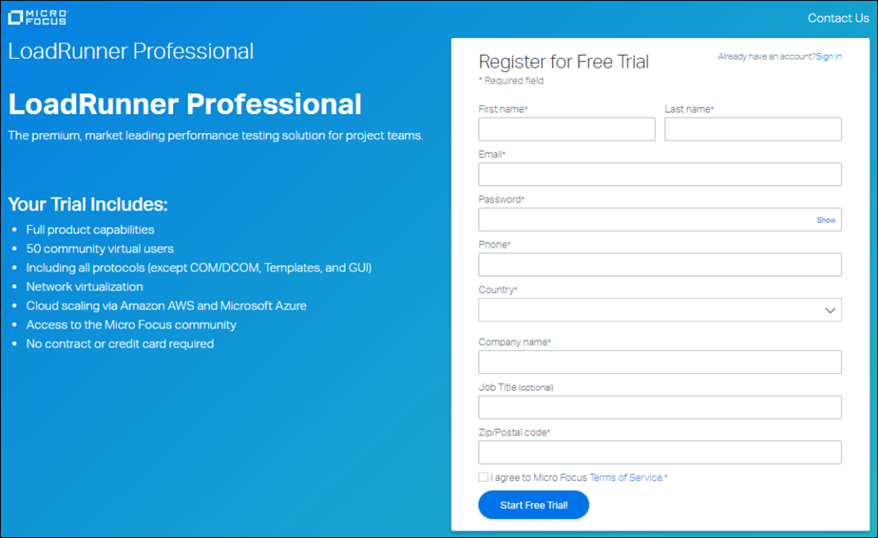
Figure (2) registration form
4. If you already have a registered account, please click “Sign Up”, enter your login information, and go to the website.
5. The installation package will download after the ‘Download Confirmation’ page appears. The ‘Click Here’ link should be used if it does not launch automatically.

Figure (3)
6. Double-click on the ‘.exe’ file after the installation package has been downloaded completely.
Figure( 4)
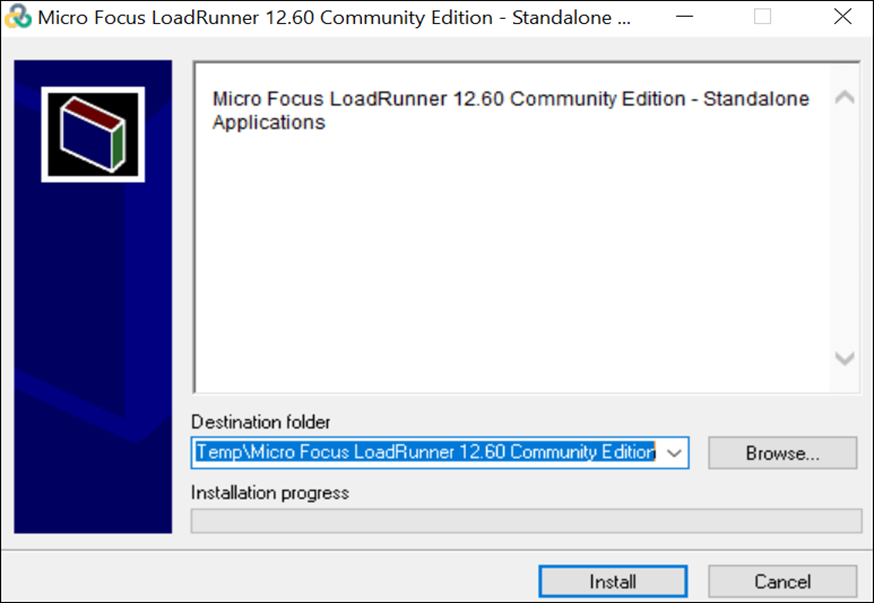
7. ‘Install’ should be clicked. The installation progress indicator allows you to monitor the status of the installation.
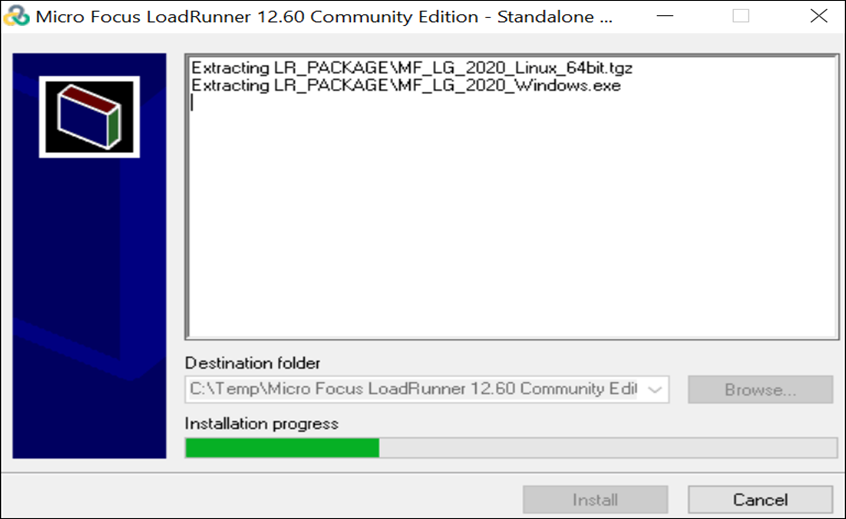
Figure( 5)
8. All component executables (.exe) are located at the specified path in the destination folder (see Figure 05). Select the correct executable file by browsing in the same direction.
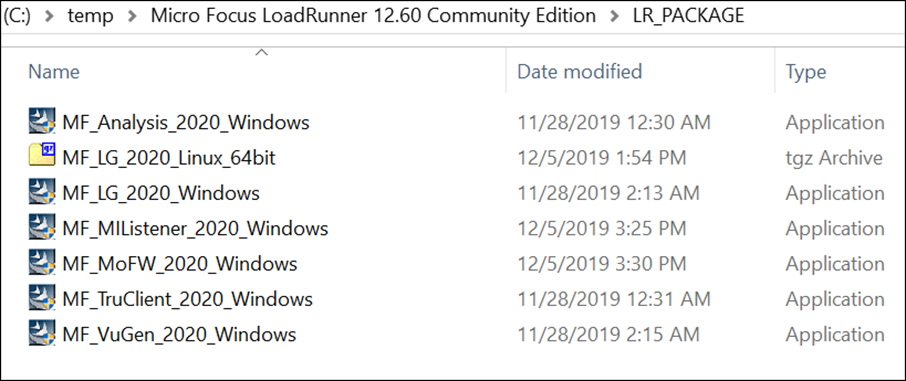
figure(6)
Configure LoadRunner VuGen
1. Go to the folder where the installation package extracted the executable files (Figure 06).
2. In step two, click on ‘MF_VuGen_2020_Windows’. A default location is used when the installation window starts. You can choose another place if you want. Click ‘Next’.
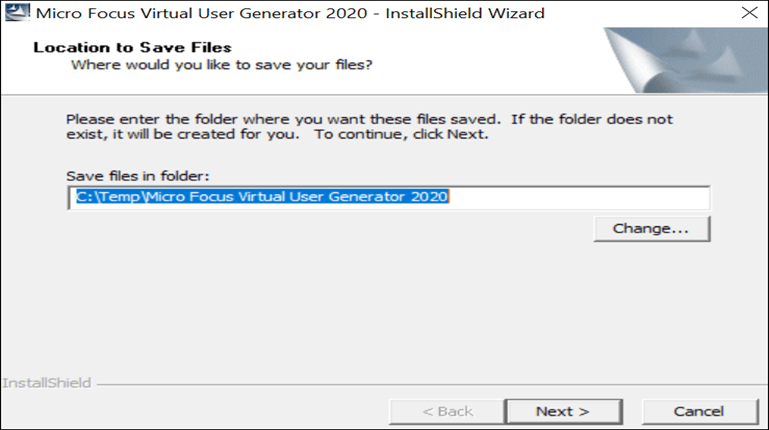
figure(7)
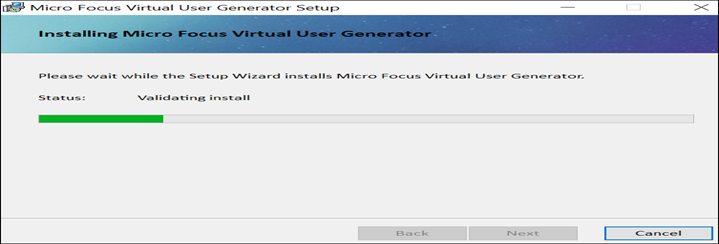
3. Upon extracting the files, LoadRunner will begin the installation process.
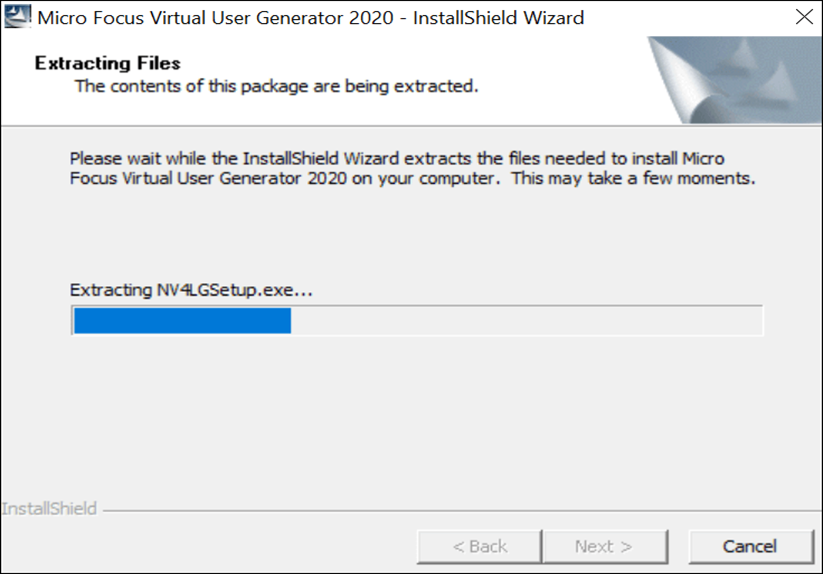
figure (8)
4. If the necessary prerequisites are not present on the PC, LoadRunner will prompt you to install them. You must click ‘OK’.
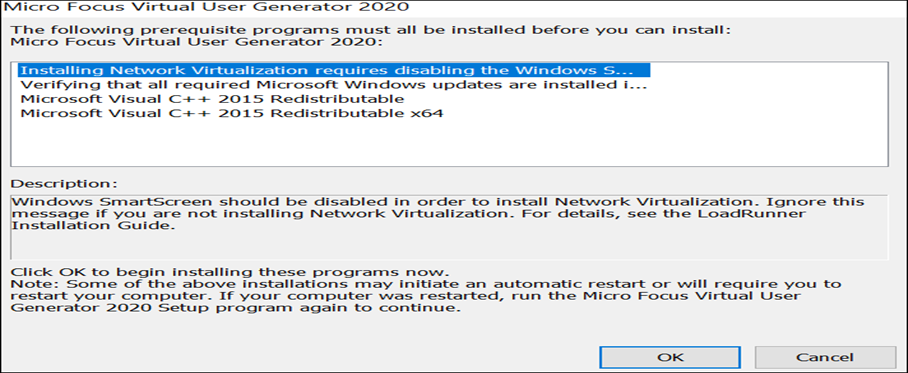
figure(9)
5. The required progress window:
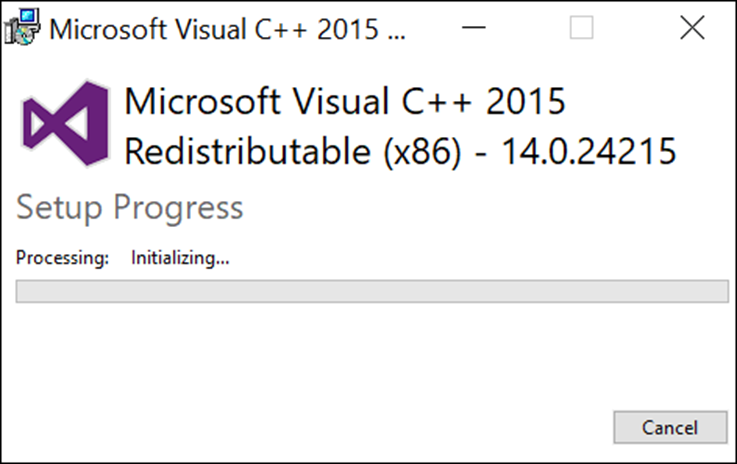
figure(10)
6. In the VuGen Installation Wizard window, click “Next”.

figure(11)
7. Check the box next to “I accept the terms of the license agreement”. The ‘Install’ button becomes active when you check this box.
The other two options are creating desktop shortcuts and participating in the LoadRunner improvement program. Depending on your needs, you can select or deselect these items.

figure(12)
8. To install VuGen, click the ‘Install’ button.
figure(13)
9. You will receive the following notification once the installation is complete. Disable the “Install network virtualization” option if you do not want to implement network virtualization. and press the ‘Finish’ button.
Before clicking the “Finish” button, you should also check or uncheck the boxes next to “Open Readme File” and “Open Installation Log”, depending on your needs.
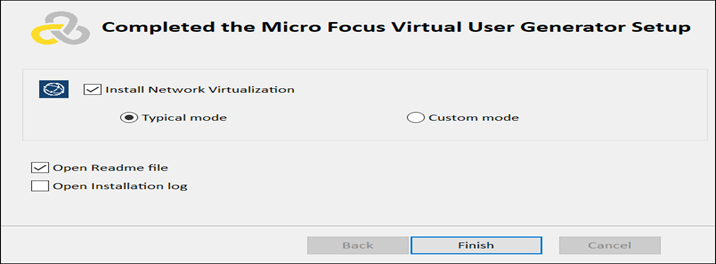
Figure(14)
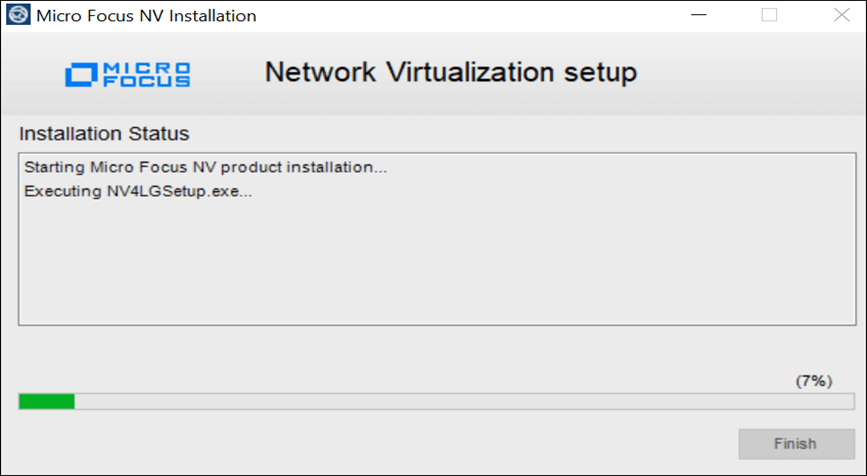
10. If you choose “Install Network Virtualization”, the network virtualization installation will start and you can follow the installation progress on the progress bar.
figure(15)
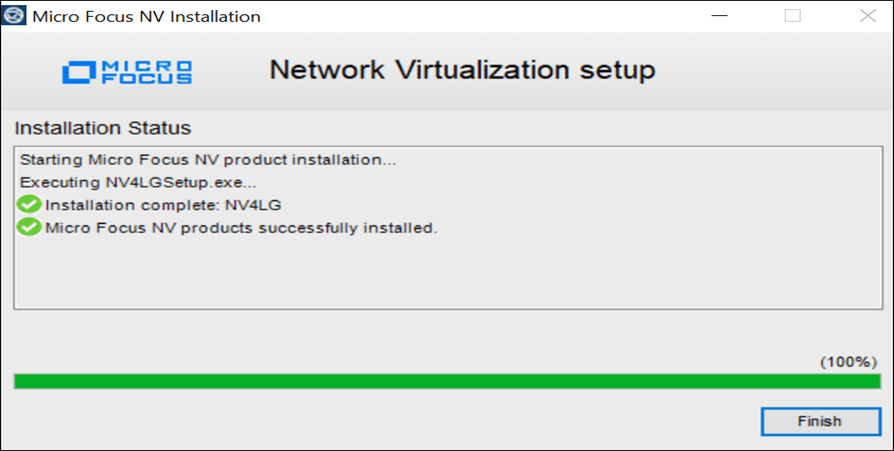
11. Click the ‘Finish’ button that appears in the window after the installation is complete.
Figure(16)
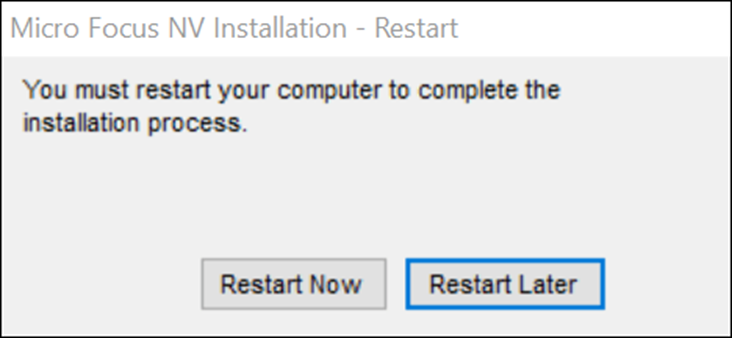
12. The machine must also be rebooted. Select the appropriate option based on your preferences.
figure(17)
You are now ready to use VuGen for scripting